Using Playscii for ATASCII Art
Playscii is a very versatile tool to create not only different kinds of ASCII art but also animations. We'll focus only on the part of creating standard ATASCII (ATARI ASCII) here.
New file
After starting the editor press:
File -> New
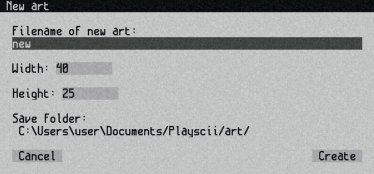
Select a name.
Leave the Width and Height.
Remember the save folder!
Select charset and colors
Press space so that the charset/color picker pops up.

Select "AtariAll" as character set by clicking on "Set: ...". (If you can't see 'AtariAll' you need to install it. Otherwise select 'atari', which has no inverted characters.)
Optional: Select "atari" as palette by clicking on "Palette: ...".
Paint
Now you should be able to paint. Be aware:
The color information will not be saved. Therefor it's best to stick with one color.
Export
Click on 'File' -> 'Export...'
(Do not use 'Export last'. This option does not work always.)
Select the Atari XEX Exporter. (If you can't see this entry you need to install it.)
Chose a file name and save.
An executable bin file will be created.
Run the program
You can directly open .xex-files with emulators like Altirra.